
01
Position
Confirm the counter or cabinet spot you have in mind and the space around it.
Velta installations · Singapore
See the space, connections and service access each Velta machine needs, whether it sits on the counter, plumbs in, or goes under the sink.
Installation guides
Compare the space, water, drain, power, access and maintenance each Velta machine needs.
Countertop installation
HydroSpark+ installation guide · Singapore
How to check counter depth, weight, power, tank or plumbed-in mode, waste-tank access and CO₂ changes before HydroSpark+ goes in.
HydroSpark+
Plumbed-in countertop installation
HydroForm+ installation guide · Singapore
What sits behind a slim HydroForm+: water inlet, reject drain, power, depth and room to service it.
HydroForm+
Under-sink installation
HydroView+ installation guide · Singapore
What to check in the cabinet before HydroView+ goes in: faucet, inlet, reject drain, power and room to lift the cartridges.
HydroView+
Countertop setup
Hhuhu setup guide · Singapore
Where to put the 3 L hydrogen water machine, close to its purified water, with room for the rear tank and cleaning.
Hhuhu
Planning checklist
Position, measurements, water, drainage, power and service access decide whether a machine fits.
01
Confirm the counter or cabinet spot you have in mind and the space around it.
02
Measure width, depth, height and the clearance needed to use the machine.
03
Check whether your model runs from a refill tank or a cold-water inlet.
04
Plumbed-in RO purifiers need a route for reject water to the drain.
05
Confirm a power point where your model needs it.
06
Leave room to remove filters, tanks and CO₂ and to reach the connections later.
Before installation
A few clear photos and measurements catch problems before delivery day.
01
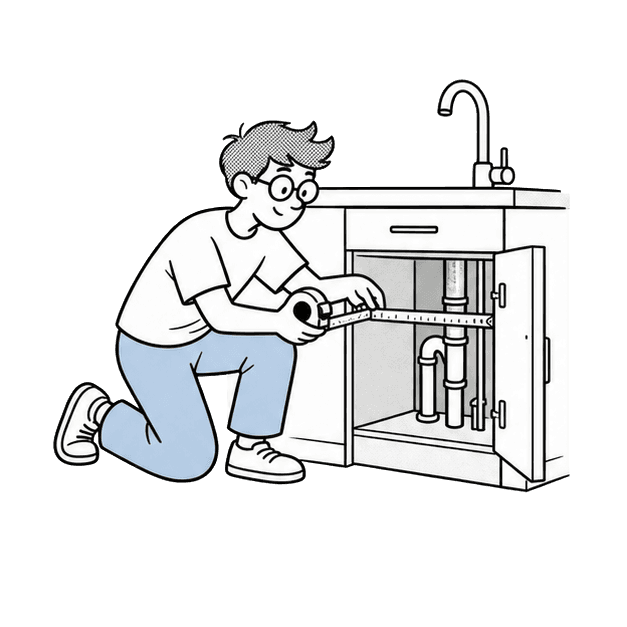
Take one wide photo of the room or open cabinet, then close-ups of the valves, trap, socket, tap area and where you would like the machine to sit.
02
Measure width, depth and height, and note doors, drawers and overhead cabinets. Leave room to dispense, lift out the tank and pull filters later.
03
Show us the water inlet, shut-off valve, where the drain runs and the nearest power point, so we can plan the connection before we arrive.
04
Let us know if you rent, what the worktop is made of, whether drilling is allowed, if there are hidden pipes or cables, and when any renovation happens.
Compare installations
HydroSpark+
Tank mode means refilling and emptying by hand. Plumbed-in mode needs an inlet and drain. Both use a replacement filter and CO₂.
HydroForm+
It does not make sparkling water and it sits on the counter, not under it. Keep the filter and pipe route reachable once the kitchen is finished.
HydroView+
It is ambient only. Agree the faucet position, drain route, power and future cartridge access before any drilling or joinery.
Hhuhu
It does not purify or control temperature. You need counter space for Hhuhu, its source water, room to remove the rear tank, and a power point nearby.
Installation planning
Choose your machine, then check the counter or cabinet space, water, drain, power and room for future servicing.